
TLC Community Credit Union 

Close right-side column
Select a Category
Your Life/Manage/FAQ
Insights
NEW! Insights - A Financial Management Tool
1. Why should I use Insights?
Insights provides you the tools to help successfully manage and track your finances. You can create a budget, monitor expenses, and set goals. Insights also allows you to track your upcoming bills and incomes, and enable you to view all your accounts in one convenient location. Insights can help you in tangible ways to improve your overall financial health.
2. How do I start?
Accessing Insights through Online Banking
Accessing Insights in Online banking can be done multiple ways.
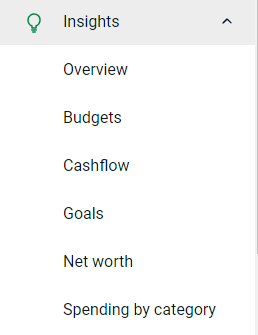
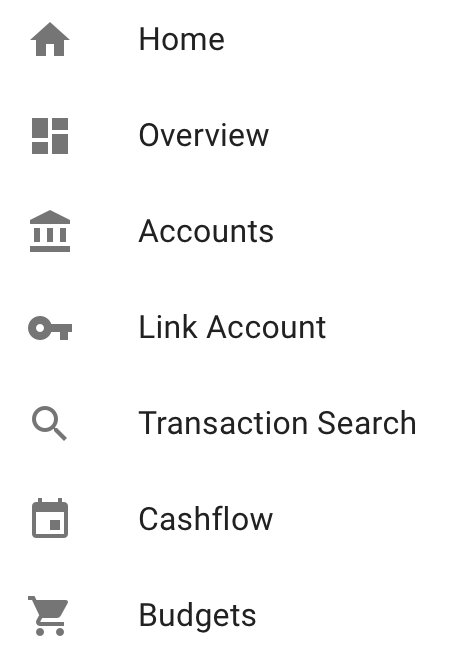
The first way is from the sidebar you can click "Insights." This will expand the menu and show you all of the options you are able to access.
The second way to access Insights is by clicking on "Organize Dashboard."

From here you can click on "Add Card."
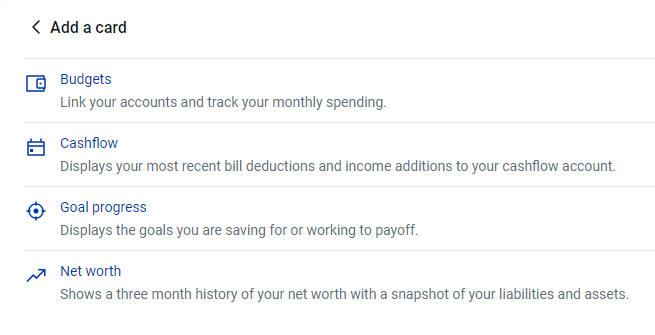
You can then add the various Insights cards right to your dashboard. Each card will give you a brief overview of each option with a link to access the full page.
Accessing Insights through Mobile Banking
Tap on the "Menu Icon" (three lines) at the top left of your screen.

Tap on Insights, this will open a new window with your Insights dashboard.

3. Link External Accounts
To view balances and transactions from other financial institutions you can link them right on your TLC app. This will show the accounts on your dashboard as well as link them in Insights to give you a better overview of your financial position.
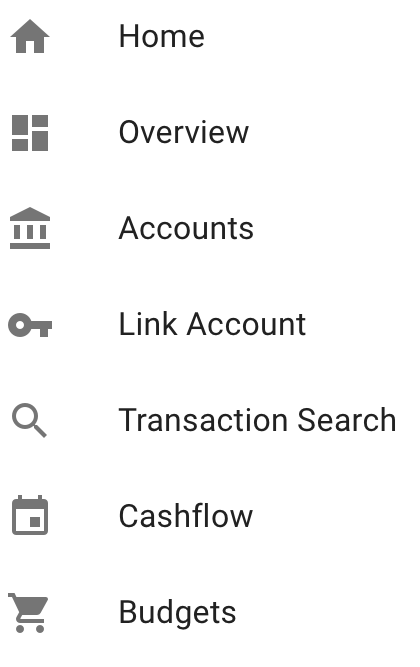
To add an account click on Accounts from the sidebar menu (on your mobile app you will need to click the three lines at the top left to open the sidebar menu).
In Online Banking you will see "Link an account" on the right side.

Once in Link an account, you will be prompted to search for your bank. You can only link institutions who have a connection with Insights. If your institution does not have a connection you will not see it as an option, or receive an error when you try to click on it.
Type your institution in the box or select from one of the most common ones shown. Once you find the institution you would like to link, you will have to agree to the terms and conditions.

You will then be prompted to enter the Username and Password you use for that institution. (This is not your TLC credentials)
If there are any security measures that other institution uses, like text or phone call verification, you will be prompted to complete those steps as well.
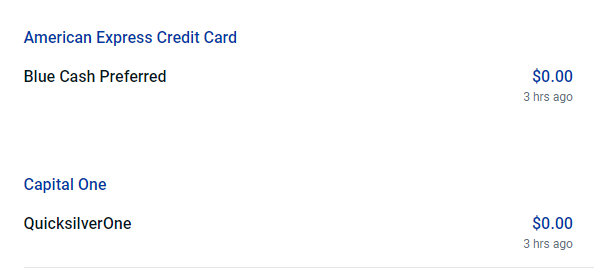
Once linked you will be able to see linked accounts on your dashboard under all of your TLC accounts. You are able to view balance and see your transactions on those account. You will not be able to transact on those accounts within your TLC online or mobile banking.
4. Deleting External Accounts
To remove a linked account, start again by going to Accounts and then Link an account.
You will now see a box that says Bank Connections with the word Review above the search box.
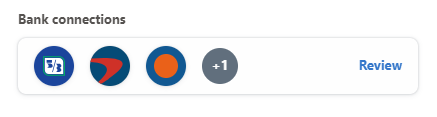
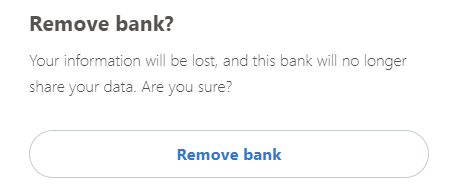
Click Review and then click on the account you would like to remove. Click Remove Bank.
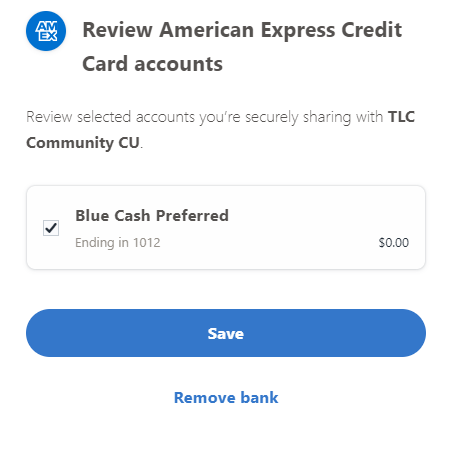
A second screen will show asking if you are sure. Click Remove bank again and that account is no longer linked.
5. Using Tags
What is a ‘tag’?
A tag is a customizable word or phrase used to categorize your transactions. This feature gives you a better idea of how you’re spending your money by tracking transactions in the same category. We will automatically pull in your most recent transactions and tag them (i.e. transportation, groceries, clothing). We suggest you edit your tags by clicking on the ‘EDIT’ button associated with each transaction. Customized tags give you a more accurate view of your budget(s), spending history and overall financial picture.
How do I add or change a tag? (Online Banking)
- From the sidebar menu click Accounts and then click the account that holds the transaction you'd like to change a tag on.
- Click the Insights tile.
- From the overview screen scroll to the bottom of the page and under the section labeled Transactions, click View Transactions
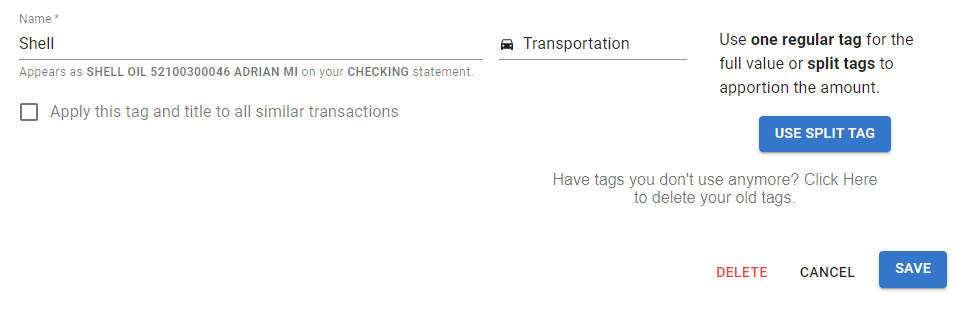
- Click on the transaction requiring a new or updated tag.
- Highlight and delete the existing tag.
- Type the new tag or select an existing tag as it pops up while you type.
- Optional create a rule: Check the box to apply this tag and title to all similar transactions
- Click "Save"
How do I add or change a tag? (Mobile Banking)
- Tap the three lines at the top left to open the sidebar menu.
- Click Insights
- From the overview screen scroll to the bottom of the page and under the section labeled Transactions, click View Transactions
- Click on the transaction requiring a new or updated tag.
- Highlight and delete the existing tag.
- Type the new tag or select an existing tag as it pops up while you type.
- Optional create a rule: Check the box to apply this tag and title to all similar transactions
- Click "Save"
6. Overview
From the sidebar menu under Insights, overview will show you a brief summary on your financial position. It will show you your Cashflow, Goal progress if you've set a goal, your Monthly budget if you've set a budget, and your Net worth.
Each of those options will also have a link to access the full page of those option.
7. How do I create a Budget?
How are budgets used?
Budgets use ‘Spending Targets’ to track variable expenses. Budgets always run from the first to the last day of each month. Spending Targets are automatically color-coded based on your spending progress. New users can look at the insights for guidance on what to budget based on spending. Transaction Tags will determine which category is used on each transaction. (See Tagging FAQ for more information on tags)
How do I create a Budget? (Online banking)
Click on Insights from the sidebar menu.
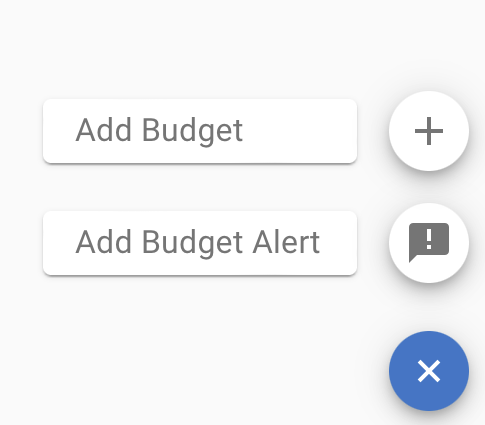
Click on Budgets, then Click on “Add Budget”

Check the box next to the tag you would like to track and Click Next.
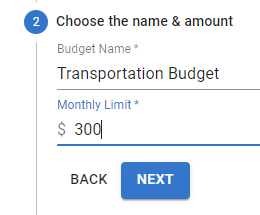
Choose the name for your new budget and the monthly limit you'd like to set. Click Next.
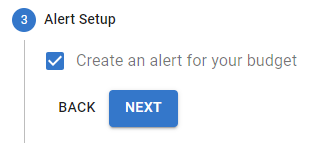
Select if you would like to receive alerts for your budget.
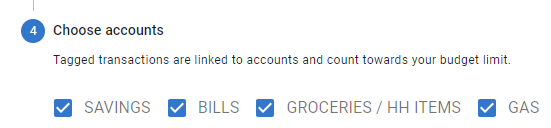
Select the accounts you'd like your budget to look in for the previously selected tags. Then Click Finish.
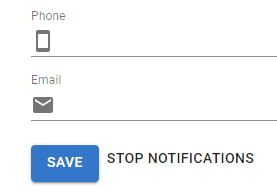
If you selected to receive alerts, provide the phone or email address you would like to use. Click Save.
Repeat the above steps to add a budget for additional tags.
How do I create a Budget? (Mobile banking)
Tap on the three lines at the top left to open the sidebar menu.
Then click on Insights from the sidebar menu.
Once Insights opens, click the three lines at the top left.

Click on Budgets.
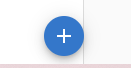
On the Budget screen click on the + sign in the bottom right corner.

Click on “Add Budget”
Check the box next to the tag you would like to track and Click Next.
Choose the name for your new budget and the monthly limit you'd like to set. Click Next.
Select if you would like to receive alerts for your budget.
Select the accounts you'd like your budget to look in for the previously selected tags. Then Click Finish.
If you selected to receive alerts, provide the phone or email address you would like to use. Click Save.
Repeat the above steps to add a budget for additional tags.
If your Budgets aren’t updating correctly, ensure that:
- The associated tags are attached to transactions posted
- You have the proper account(s) included for each Spending Target
- Your Dashboard tags match the Spending Target
8. How do I edit or delete a Budget?
How do I edit or delete a Budget? (Online banking)
Click on Insights from the sidebar menu.
Click on Budgets. Then click on the Budget you’d like to edit.

At the bottom of the page, click the Edit Budget.
You can change the name, amount, tags, and accounts associated with this Budget. Delete is at the bottom of the page if you would like to delete the Budget.
How do I edit or delete a Budget? (Mobile Banking)
Tap on the three lines at the top left
Tap on Insights from the sidebar menu.
Tap on Insights from the sidebar menu.

Once Insights open, again tap the three lines at the top left to open the menu.
Tap on Budgets.
Tap on the Budget you’d like to edit.
At the bottom of the page, tap the Edit Budget.
You can change the name, amount, tags, and accounts associated with this Budget. Delete is at the bottom of the page if you would like to delete the Budget.
If your Budgets aren’t updating correctly, ensure that:
- The associated tags are attached to transactions posted
- You have the proper account(s) included for each Spending Target
- Your Dashboard tags match the Spending Target
9. Cashflow Calendar
The cashflow calendar brings your budget to life through an interactive calendar. With the calendar you can see how much money you have available to pay bills and other expenses day by day... allowing you to make informed choices on when to schedule bills and other spending.
How do I edit the Cashflow calendar? (Online banking)
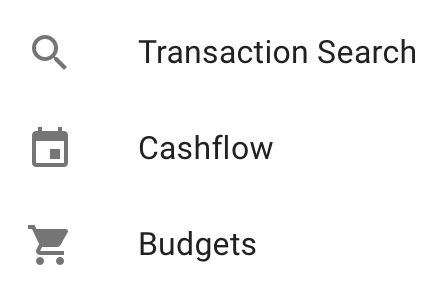
Tap on Insights from the sidebar menu.
Click on Cashflow, then click the plus sign to add an income or add a bill.
Enter the required information and click Save.
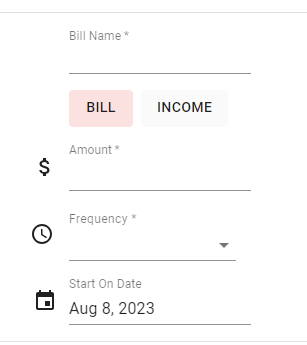
Your bill or income will now appear in the Insights calendar for you at the frequency you chose it to appear.
How do I edit the Cashflow calendar? (Mobile banking)
Tap on the three lines at the top left. Then tap on Insights from the sidebar menu.

Once Insights opens, click on the three lines at the top left to open the menu.
Tap on Cashflow.
Tap the plus sign to add an income or add a bill.
Enter the required information and tap Save.
Your bill or income will now appear in the Insights calendar for you at the frequency you chose it to appear.
10. Adding/Tracking Goals
Visually tracking your financial goals can help you take control and makes reaching your goals much quicker and easier. Create savings goals, like saving for a vacation, or a debt reduction goal, like paying off a high-rate credit card.
- Navigate to Goals, and select “Add Goal”
- Select your desired pay off or savings goal.
- Fill in the required information.
- Click the "Save" to complete the process of adding a new goal.
Keep in mind, your Goal Summary will update your completion date and the amount needed per month according to your preferences.
Goals will automatically update your progress and will reflect your day-to-day account balances in Insights.
Goals will automatically update your progress and will reflect your day-to-day account balances in Insights.
11. Net Worth
Net Worth will show you your entire financial position in a nice snapshot. It will show you your assets and liabilities combine for all of your TLC accounts and the accounts you have linked to your TLC online or mobile banking.
Q. Adding an asset/liability of an Unlinked account?
- Select the ‘ADD ASSET’ or ‘ADD LIABILITY’
- Enter in the amount of the Asset or Debt and label it
- Save the asset or liability
- You may also remove particular accounts from being calculated into your Net Worth total by clicking to exclude it in your Net Worth calculation.
12. Alerts
Q. What are Alerts?
Alerts are personalized notifications sent to your email and/or mobile device which help you keep track of your account activity. Be alerted of upcoming bills, monitor account balances to avoid fees, and review transactions of a certain amount or from a particular store.
Q. How do I set up Alerts?
- Click on ‘Alerts’
- Click on ‘+’ to open the set up page
- Choose your Alert type
- Enter the appropriate values as prompted (i.e. account, amount, percentage)
- Choose the Alert Option(s) (email or text message)
- All of your Your $ Manager alerts will appear on the Dashboard once they have been
- Click ‘Save’.
Please keep in mind that there is often a slight delay between triggering an alert and receiving it, as we have to wait until a transaction is posted to send a related
13. Why do I have an error on an external account?
A red symbol is an indication of a login error. This can mean that your password needs to be updated, or you have security questions that need to be answered. Click the link provided in the error message to manually update your username and password. You may also be prompted with additional security questions. If your account still does not update, please contact us.
Don't see your question?
We'd love to hear from you!
Zelle® and the Zelle® marks are property of Early Warning Services, LLC and are used herein under license.
Apple and the Apple logo are trademarks of Apple Inc., registered in the U.S. and other countries. Google and Google Play and the logos are a trademark of Google Inc.